-
")

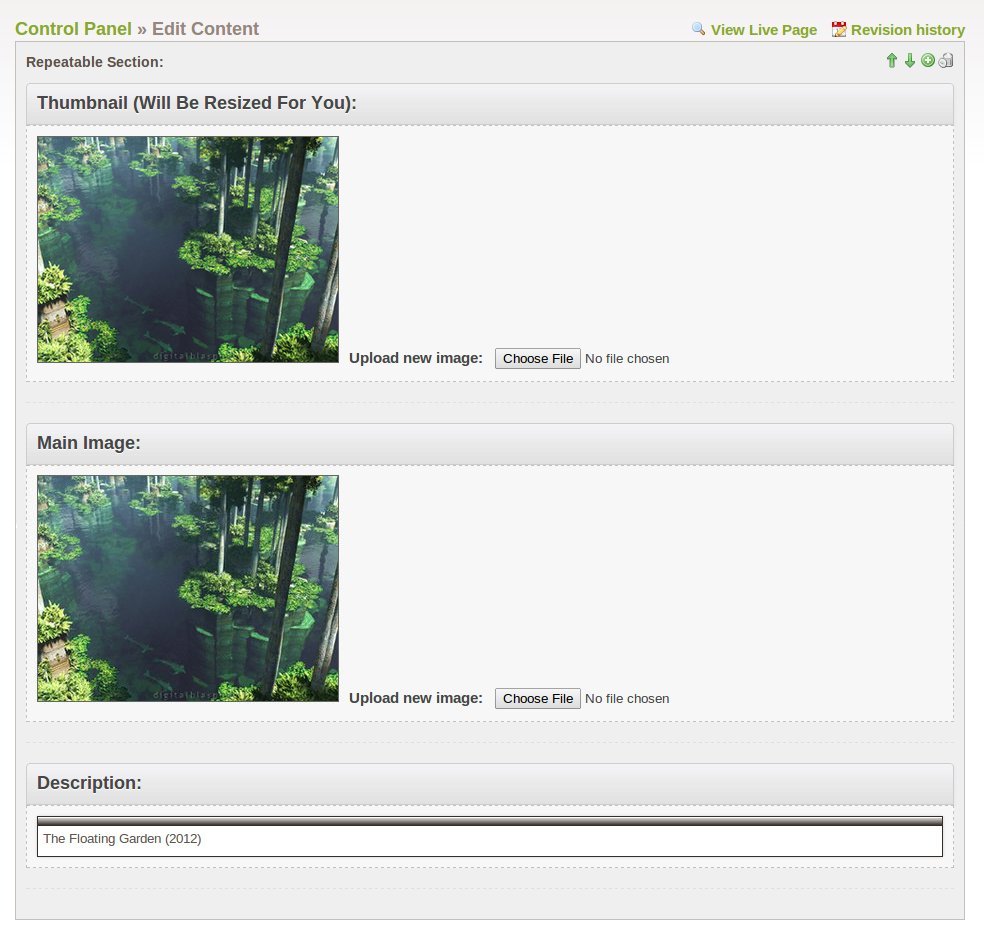
The Floating Garden (2012)
-
")

Fluorescence (2000)
-
")

Episteme (2006)
$(document).ready(function() {
  $('ul.gallery li').each(function() {
    // Find the main image for this particular fancybox element.
    var image = $(this).find('img.main').first();
    var thumb = $(this).find('img.thumbnail').first();
    var desc  = $.trim($(this).find('h5.description').first().html());
    var link  = $(this).find('a.fancybox').first();

    // Set the href for each link to be the src of the main image inside that link (which is currently hidden).
    link.attr('href', image.attr('src'));

    // Also remove the src from the main image so the browser doesn't download it.
    image.attr('src', '');

    // Fix the title & alt tags of the thumbnail.
    thumb.attr('title', desc);
    thumb.attr('alt', desc);
    link.attr('title', desc);

    // We're ready to enable the fancybox!
    link.fancybox({
      helpers: {
        title: {
          type: 'inside'
        }
      }
    });
  });
});
The images used in this gallery are from one of my favorite online artists Digital Blasphemy. I highly recommend you checkout his work.